iPhone apps: How to
PicFx
This app enables one to skilfully add layers that compliment your photo in a professional manner. |

1. This is what the app looks like. Click it to start it.

2. As soon as you enter the app it goes straight to your phone's camera roll. Here there are many options to select.
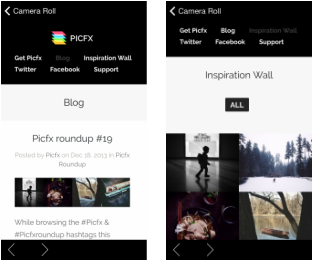
3. This is their blog. It contains posts to help you and they even have an Inspiration wall!
|
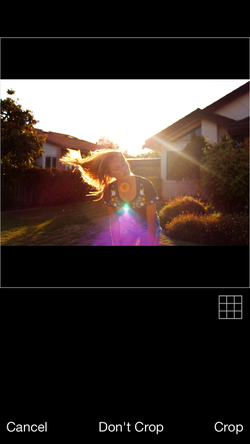
4. Once you choose your photo the app leads you to
crop your photos to the size you would like it at.
You can choose to not crop as well.
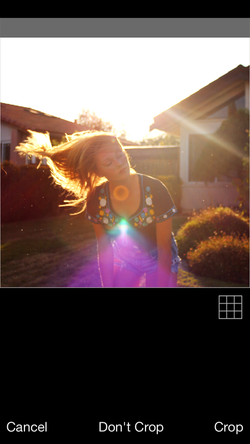
5. To choose the size of your crop you can zoom in or zoom out.
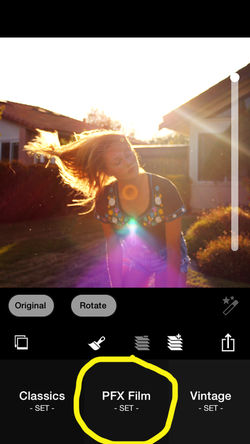
6. Once you have chosen the size of your crop it will lead you to
the main editing stage. At the bottom there are sets which contains
different layers to edit your photo with.
the main editing stage. At the bottom there are sets which contains
different layers to edit your photo with.

7. I chose the PFX 15 layer to place over the original photo.
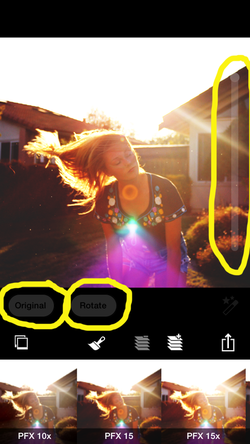
8. By tapping the photo some options will appear. The Original button will
set the photo back to its original form. The Rotate button will obviously
flip the photo around. As for the side bar, it increases and decreases the
intensity of the layer.
set the photo back to its original form. The Rotate button will obviously
flip the photo around. As for the side bar, it increases and decreases the
intensity of the layer.
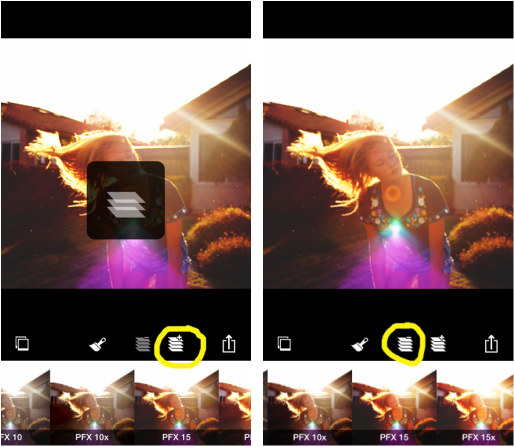
9. This button is the layer up button. Once you push this, it allows you to add another layer on top of the one you already had. The Decrease layer option takes away the last layer you added.
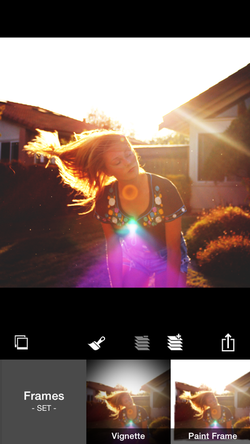
10. There is one set at the end which includes Frames. In the Frames there
are options to make your photo more snazzy with a border.
are options to make your photo more snazzy with a border.
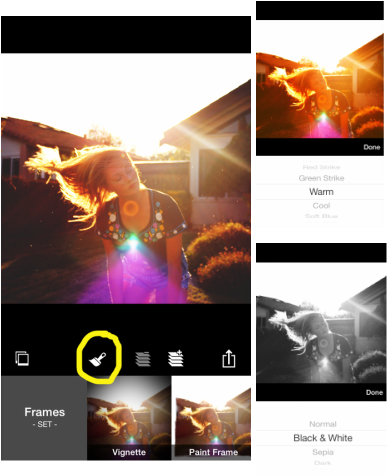
11. This paintbrush tool chooses the main color scheme.
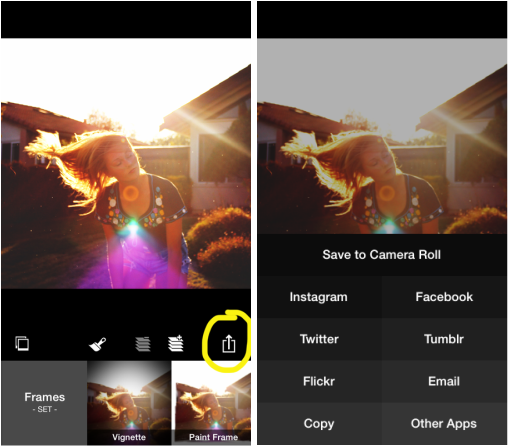
12. The final step is saving the photo to where you want. In the left photo you see the icon to save the photo. On the right are all the options to where you can save it to.
How to use Space paint
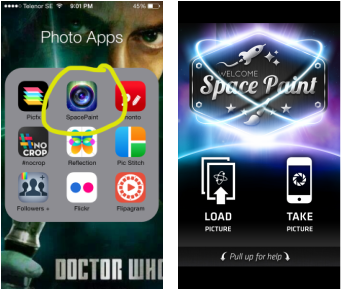
This is what the Space Paint app looks like when you open it.
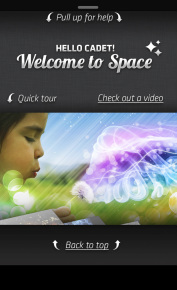
If you pull up for help you can look at the information area that contains videos and images to help you understand Space Paint.

If you select Load Picture it will take you to your Camera Roll which allows you to choose your photo.

Once you have selected a photo you can press the lightning button to start editing your photo.
Below is a series of photos that feature things or effects you can add to your photo.
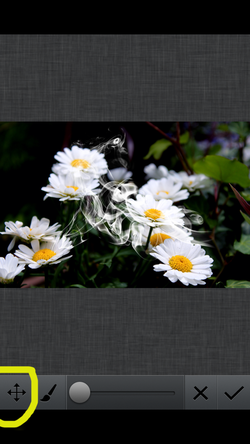
Once you have selected an effect (I chose a smoke effect) and by selecting the circled option below it enables you to move the effect around.

By zooming with your fingers on your screen you can enlarge or make smaller with the effect
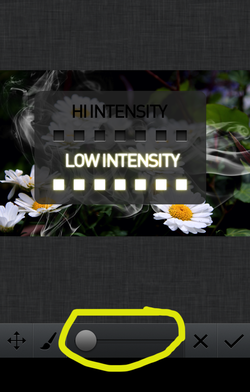
If you push Done you go back to the main screen and there if you slide the the circle you can mess with the intensity of the effect.
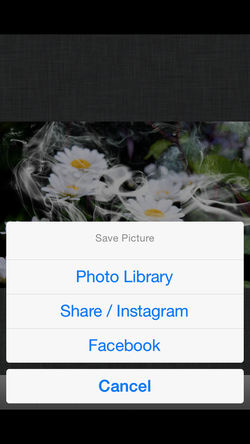
You can always go back and add more effects but if you have the amount you want select the check mark and save it to where you'd like.
How to use Phonto

Phonto is an app that allows you to add text to your photo. This is what it looks like.
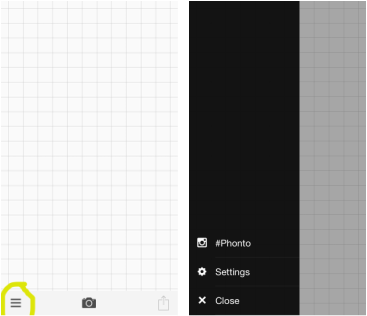
The button on the side has extra settings about the app.
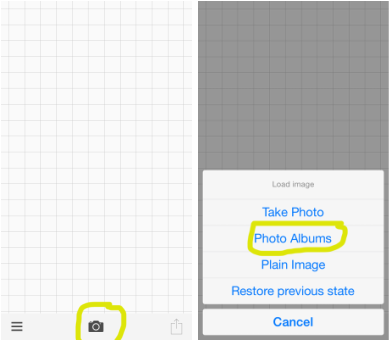
This is how you upload your photos.
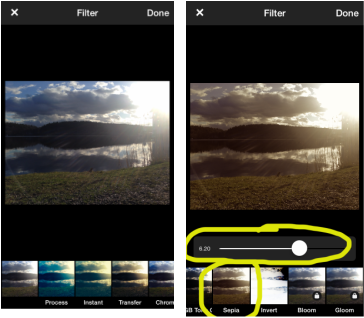
When you select a photo it goes to the edit section and you can mess wight the intensity.
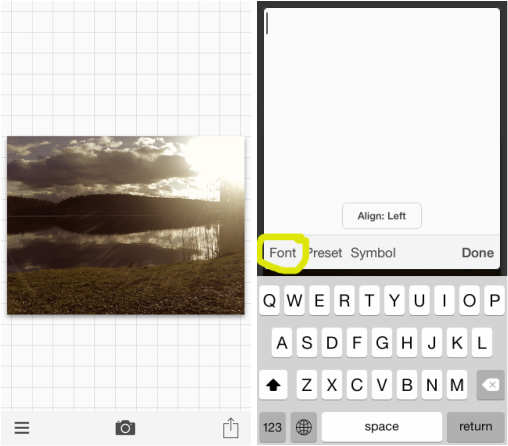
If you tap on the photo you can add text. By selecting font you can choose they style of text.
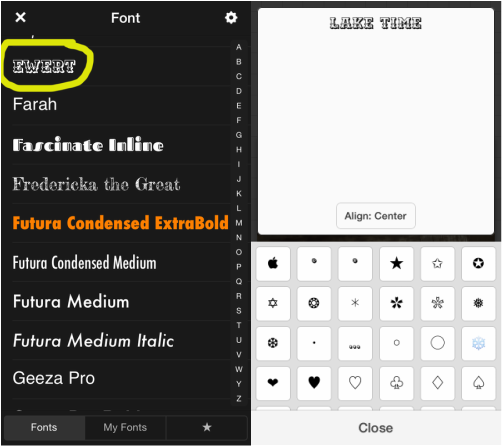
This is the font I selected. You can also add symbols.
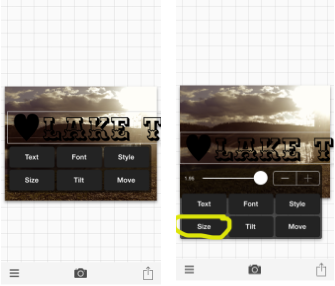
Once pressing done the words are often to big for the picture.
The size of the text can be adjusted by using the circled button. Then using the bar you can move it back and forth to mess with the size.
The size of the text can be adjusted by using the circled button. Then using the bar you can move it back and forth to mess with the size.

Next is the style you can change.
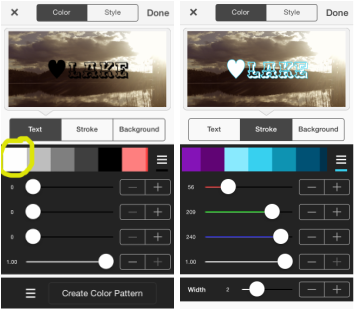
With these options you can choose to your liking.

If you want to tilt the photo you can select this button.

This is the final product.
How to use No Crop

This app No Crop allows the editor to upload photos onto social networking devices such as Instagram without having to crop it. I find it useful when I really like one of my photos and the cropping destroys the perspective.

When opening the app many options come up but to get to the basis tap Import.

Now follow as the words say and double tap to upload an image.

Here I uploaded my photo and automatically there are white strips on the side which center the photo without cropping any of it out.

If you are not satisfied with the placement you may zoom in and out to your liking.

If you'd like to flip the photo around press the button circled.
To upload or save the photo click the button just above the circled button,
To upload or save the photo click the button just above the circled button,

You may choose where to upload the photo.
How to use Reflection

Reflection is an app that allows you to mirror an image and it has several other effects which are pretty cool.
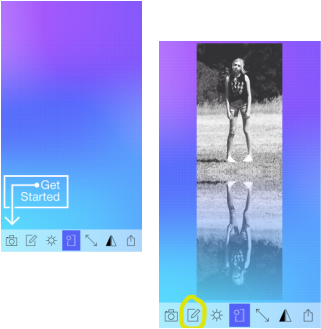
Once the app was opened you are taken to the home part as it leads you through the different buttons.
After uploading the photo you want press the button circled to edit it.
After uploading the photo you want press the button circled to edit it.

This photo editor has basic editing for photos. You can even add stickers to your photo if you want,

After done editing you come back to the main page and you will see the reflection of your photo. To change the opacity of the reflection you can select the sun and move the cursor back and forth.

Now the purple button adds filter over the photos however to unlock all the photos you must pay for the full app.
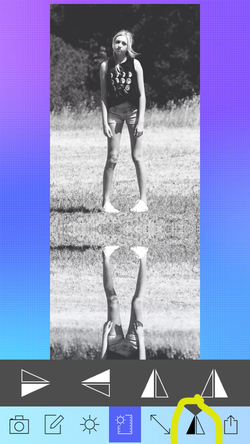
Now this button allows you to change the type of reflection.
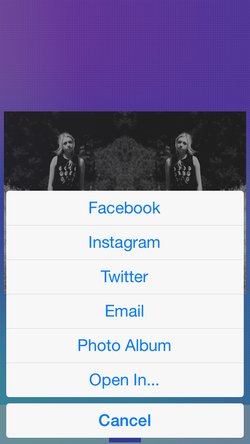
Once satisfied you can upload the photos to any of the options shown in the picture y clicking the farthest button to the right.
